Monday, August 8, 2011

Cut Your Own Rubber Stamps

Hand-carved rubber stamp design

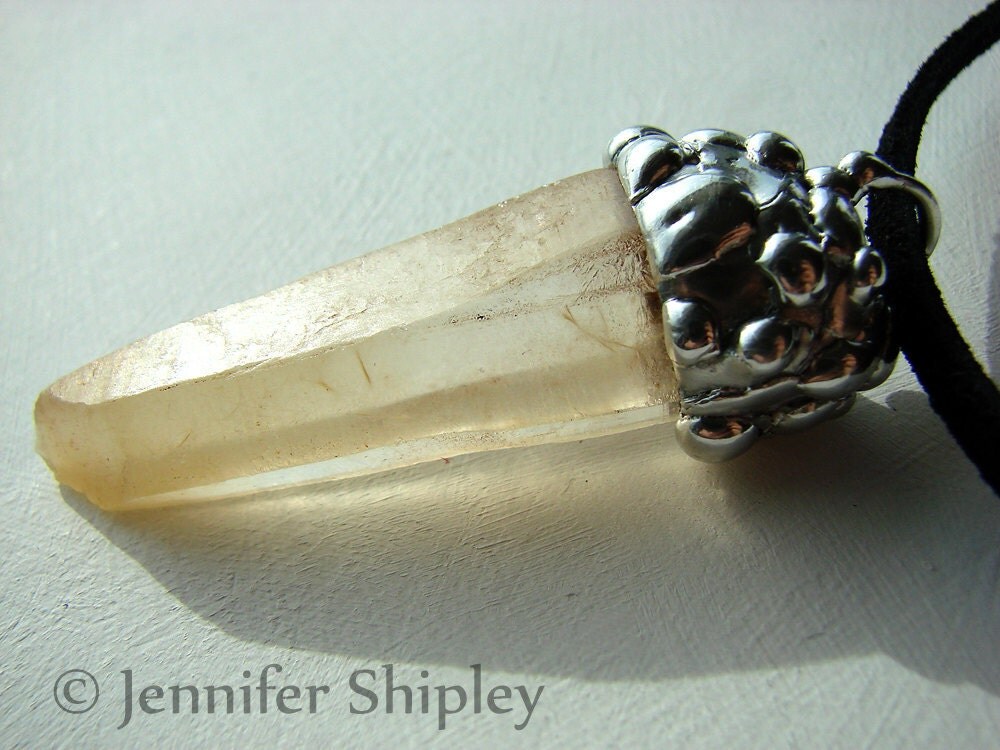
Welcome to the next act in my gift tag saga. I decided to cut some new rubber stamps for my recently dyed tags. Many of the designs on the gift tags I showed in my paper dying entry were hand-cut in this way. I am currently using Soft-Kut Printing Blocks from Dick Blick because they are soft and inexpensive. Curls were not easy because the material is so rubbery and pliable, so the first design you see here took me longer than I had hoped. A firmer block would have been better for this design, I think.

Carving process photo 1

Carving process photo 2

I started by cutting with scissors some shapes from a larger block that fit the two main sizes of tags that I am using. I made a rough sketch with a sharpie directly on the block, then started cutting away the negative space with Speedball Linoleum Cutters. I like these because they are inexpensive and if you make a mistake when sharpening your blades, you can buy inexpensive replacement tips. You can also use an exacto knife for straight edges in tricky places.

Rubber stamp carving photo 3

Rubber stamp carving photo 4

Rubber stamp carving photo 5

When I finished cutting my design, I rinsed it with sudsy water to remove any rubber debris. After it dried I tested it with an inexpensive black water-based ink pad. Inking these up is much easier if you keep the block on your table and dab it with your ink pad. Keep dabbing with your pad, moving it all around the block and angling it in different directions. Do not slide the pad across your block. It will take a while for the block to build up enough ink for your first proof, but after a few prints the surface of your block will get more sticky and hold more ink.

Ink proof of rubber stamp

To print, place your block face down on your paper and press the back with a flat object a little larger that the pad. A block of wood works great.

Printing the stamp on paper

After you have successfully made some proofs, you may decide to cut more of your block away. I have left some texture in the negative space around the tree that I will probably cut away at a later date.

Second stamp design proof

My second block (the leaf) was much easier because my design had no curls. This time I cut away all of the background that printed in my proofs so I would have a clean design. It’s best to cut away more the closer you get to the edge of your block, so the edge is thinner than the area next to the image. Make sure you wash the ink off your block with soapy water after your are done printing or between colors. When storing your blocks make sure that nothing is touching the printing side that will leave an indentation and damage your image. These block are fragile. I use a layer of thick cardstock to protect mine.

Leaf stamp proof

You can used water-based ink pads with these blocks, or roll ink on with a brayer. This is a great way to control your color and get an opaque, crisp and consistent print.


Want new posts by email?
Subscribe

Saturday, August 6, 2011

Golden Healers - Yellow Quartz Crystal (NOT Tangerine Quartz): Healing Properties And The Difference Between Both Stones

Golden Healer w/ Amphibole Hairs (Either Tremolite or Oxidized Actinolite)

Golden healers are rare yellow quartz crystals colored by an internal dusting of fine iron oxides, often including goethite. Some specimens also contain fine amphibole needles, commonly tremolite or oxidized actinolite, trapped within the crystal. Their colors range from pale yellow to deep gold or orange, and like clear quartz, amethyst, and citrine, they have a Mohs hardness of 7.

Golden Healer Pendant

This stone is known as golden healer for its reputation as a powerful whole-body healing crystal. The presence of iron-bearing minerals adds grounding and restorative qualities to the purifying and amplifying properties of quartz. Golden healer quartz is traditionally used for spiritual healing, energetic cleansing, immune system support, clearing blockages in qi (chi), aligning the chakras, and balancing yin–yang energies. Yellow quartz can be used with any chakra, but is especially associated with the sacral, solar plexus, and crown chakras. Working with this stone at the third chakra (solar plexus) supports alignment with Divine will and personal purpose.

Golden Healer Pendant - Tessin Habit

Golden healers are often associated with confidence, vitality, happiness, and a sense of adventure. Paler yellow stones are commonly used when uplift, cheerfulness, and enthusiasm are needed, while deeper golden hues are believed to enhance manifestation, self-assurance, and leadership qualities. Yellow quartz is traditionally linked with sun energy and all zodiac signs, and is sometimes associated with higher states of consciousness, including what is referred to as “Christ consciousness,” “divine consciousness,” or the “Golden Ray.”

Golden Healer with Amphibloe (Tremolite) - Tessin Habit

Tangerine quartz shares a similar color range, but differs in that its orange or yellow coloration is caused by iron staining on the outside of the crystal, rather than being trapped internally as in golden healer quartz.

Golden Healers with Tremolite (Right - Tessin Habit)

Most golden healers are light yellow in color, though specimens with intense golden tones are occasionally found, like those shown in some of my photos. These deeper-colored crystals sometimes contain visible amphibole hairs, typically tremolite or oxidized actinolite.

Golden Healer Quartz Pendant

The horizontal striations visible on some specimens, known as macromosaic structure, are commonly associated with Lemurian-style growth. Especially rare are crystals that taper dramatically toward the termination, displaying the tessin habit, sometimes referred to as diamantina laser quartz. Tessin and Lemurian-style points focus energy into a narrow, concentrated beam, making them useful in energetic work aimed at clearing blockages, breaking up densities, and releasing cords or attachments from the auric field.

Golden Healer Cluster

Amphibole inclusions (such as tremolite), goethite, limonite, and other iron-bearing minerals contribute to the complex mineral “cocktail” responsible for the yellow coloration of these crystals. Because the mineral composition varies from specimen to specimen, each golden healer is energetically unique.

Golden Healer With Amphibole - Tessin Habit


Tourmalinated Tangerine Quartz Pendant

All of These Are Golden Healers Except Upper Left Which is Iron-Stained

Upper Left is Iron-Stained, Others are Deeply Saturated Golden Healers with Amphibole

Tangerine Quartz

Tangerine Quartz

Golden Healer with Tremolite or Oxidized Actinolite

Golden Healer with Tremolite or Oxidized Actinolite Fibers

Golden Healer With Tremolite or Oxidized Actinolite

Golden Healer With Tremolite

Golden Healer

Golden Healer Cluster

Golden Healer - Tessin Habit

Unusual Golden Healer with White Mineral (The Mineral on Outside is Water-Soluble.)

For more information on golden healers go to these websites:

https://www.healingcrystals.com

I ADORE her website, though some of the pictures on this page are of tangerine quartz:


This site carries a nice collection of beautiful pieces, plus a good metaphysical properties guide that is different from mine:

You might also like these other related articles I have written:


Carnelian Metaphysical Properties and Gemstone Information

Black Tourmaline (Schorl) Metaphysical Properties and Gemstone Information

©Jennifer Shipley
The content of this article is the intellectual property of Jennifer Shipley. Please do not quote without crediting me and linking to my post.

Want new posts by email?
Subscribe

Tuesday, August 2, 2011

Natural Hand-Dyed Paper


Dying paper at home is an easy and inexpensive project you can complete in one work session. Your hand-dyed paper can be used for card-making, gift tags, bookmarks, soap and gift packaging, scrapbooking, paper maché, collages, magnets…anything you can think of. I have been using my hand-dyed paper to make gift tags, which I give out with each pendant purchase in my etsy store.


The finished gift tags/bookmarks you see here I made using paper that I dyed with coffee, tea, turmeric and cinnamon. Simmering the natural ingredients found in my kitchen gave my tags not only a rich, earthy yellow ochre hue, but also a nearly edible aroma.


For my most recent batches, I used the water left over from boiling beets that we ate for dinner and a combination of hand-torn watercolor paper and die-cut manila tags from the office supply store.


First I used the beet juice alone to die a few batches as I slowly reheated the liquid in a sauce pan on the stove. I dipped both sides of my paper in the beet juice, then soaked them until they sank (about 5 minutes.) You can dye multiple pieces at once.


After spreading crumpled aluminum foil on a cookie sheet, I set my papers out to dry in the oven on about 185 °f. You do not need the aluminum foil. I used it to create a splotchy texture.  It helps to have two cookie sheets going at one time so you can stagger your work – while one pan is drying, fill the other pan with your next batch of paper.


After I dyed all the paper that I wanted to have pink, I kept the beet water just under boil and added powdered turmeric and a black tea bag. This time I did smaller batches because I wanted my paper to have darker red splotches on one side.


To get these splotches I soaked the papers on low heat just long enough for the ones floating on top to dry partially. If they soak too long they will sink to the bottom and the splotches will be lost. You can use a fork to pull the papers out of the pan, or the string (or wire) that comes attached to your tags. 


Drying the papers on the crumpled aluminum foil leaves a very interesting random texture and drying them directly on the oven rack or a cookie cooling rack leaves interesting stripes.


For a smoother color, try drying them directly on a cookie sheet, but I recommend testing a sample of each paper type first to assure that your batches won’t stick to the cookie sheet after they are dry.


After paper has dried, press them under heavy, hard-cover books to flatten them out. A thick layer of scratch paper or a felt pad placed below the books on top of equal sized small dyed paper stacks will help you press more paper at one time.


For the artwork on my tags, I used a combination of store bought and hand-carved rubber stamps, with various inks, including water-based pigment pads, solvent-based dye pads and Dick Blick relief printing inks rolled out with a brayer directly onto the stamps.


Next, I decorated my tags with cut paper and hand-dyed sand. For my final touches, I stamped or brushed color around the edges and looped ribbon through the holes.


Combine any medium you want to create your artwork, but keep in mind that these vegetable dyes are not completely colorfast, so consider that when using wet media.


Want new posts by email?
Subscribe